

Turn a Simple Scene Into a Cinematic Film Still
Build a believable film frame with controlled lens, blocking, lighting, atmosphere, and color grade.
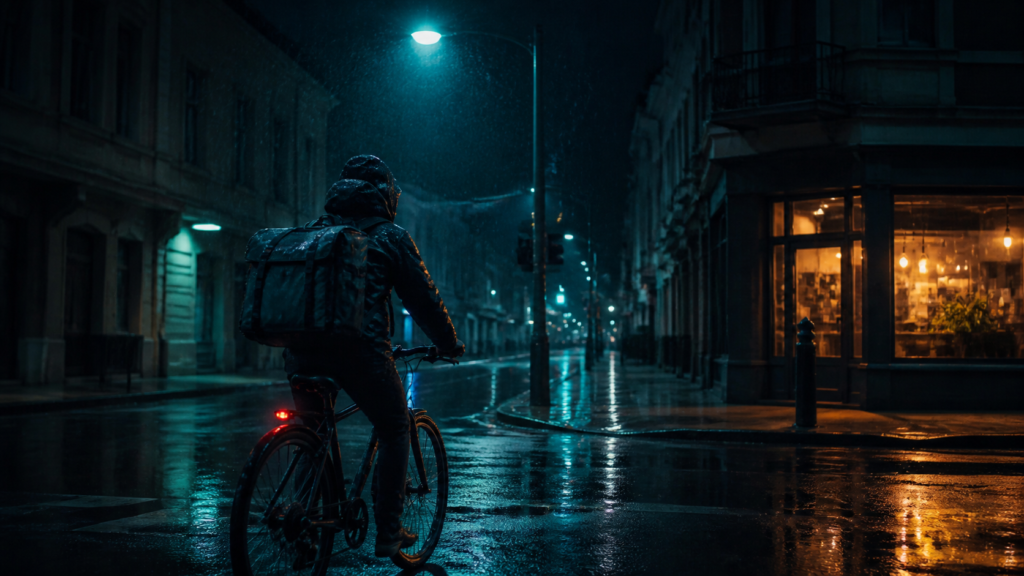
cinematic AI image prompt works best when the brief names the visual priority, the production constraints, and the review criteria before generation starts. Use the ready-to-use structure below as a controlled starting point, then make deliberate revisions instead of stacking unrelated style terms.
cinematic AI image prompt: how to improve consistency
Keep the first generation focused on composition, subject identity, geometry, and viewpoint. Once those structural choices are working, refine lighting, material response, palette, atmosphere, and surface detail. This order makes failures easier to diagnose and reduces the chance that a visually dramatic variation destroys the parts of the image that already worked.
Adapt the prompt to your image model
The wording on this page is model-agnostic. If your tool supports reference images, seeds, image-to-image strength, style references, masks, or regional editing, use those controls for properties that text alone does not hold reliably. Keep the written prompt responsible for intent and constraints, and use model-specific controls for repeatability.
Review at output size, not only as a thumbnail
Inspect edges, hands, small objects, labels, reflections, perspective, repeated patterns, texture continuity, and unintended text at full resolution. For commercial work, compare the final image with the real product, space, or brief so the image does not imply features that do not exist.
- Confirm that the subject and visual hierarchy match the brief.
- Check that the lighting direction and shadows agree.
- Verify that geometry, anatomy, and repeated details remain coherent.
- Remove accidental text, logos, watermarks, and misleading product details.
- Keep only revisions that improve the intended use, not just novelty.
For a repeatable workflow, save the successful prompt, model settings, reference inputs, aspect ratio, and review notes together. That record makes the next iteration faster and gives collaborators a concrete baseline instead of relying on memory.
A cinematic image prompt works best when it describes a shot rather than a vague mood. The goal is to give the image model enough information to organize the subject, camera, blocking, motivated light, atmosphere, and finish into one believable frame.
Ready-to-use prompt
Create a cinematic film still of [SUBJECT] in [LOCATION] at [TIME OF DAY]. The subject is [BLOCKING / ACTION], positioned [FRAME POSITION], with [FOREGROUND ELEMENT] creating depth. Camera: [SHOT SIZE], [LENS / FOCAL LENGTH], [CAMERA HEIGHT / ANGLE], natural perspective, restrained depth of field. Lighting is motivated by [PRIMARY PRACTICAL SOURCE], supported by [SECONDARY SOURCE], with realistic falloff, controlled highlights, and readable shadow detail. Atmosphere: [WEATHER / HAZE / PARTICLES]. Production design: [MATERIALS / ERA / COLOR DETAILS]. Color grade: [PALETTE], cinematic contrast, realistic skin and materials, subtle film texture. Preserve believable anatomy, coherent reflections, consistent light direction, and physical scale. No text, logos, watermarks, duplicated objects, warped hands, or impossible geometry.
Inputs to decide before generating
- Subject: who or what is the visual anchor.
- Scene: a specific place, time, and weather condition.
- Blocking: where the subject is and what they are doing.
- Camera: shot size, lens feel, angle, and distance.
- Motivated light: visible or believable sources inside the scene.
- Constraints: details that must remain physically coherent.
How to use it
- Start with one clear story beat instead of several actions.
- Choose a lens and shot size that support that beat.
- Name one dominant light source and one supporting source.
- Add atmosphere only when it helps depth or mood.
- Generate a small set, then refine one variable at a time.
Quality check
Check whether the eye lands on the intended subject first. Then inspect light direction, perspective, reflections, hands, repeated background objects, edge artifacts, and whether the color grade still leaves important detail readable.
Common failure fixes
- Too glossy: replace “cinematic” with concrete material and exposure instructions.
- Flat scene: add foreground depth and a clear practical source.
- Random lighting: explicitly state which source is dominant.
- Busy frame: remove secondary props and protect negative space.
Responsible use
Use fictional or authorized subjects and avoid presenting generated imagery as documentary evidence of a real event. Review brand, likeness, and usage rights before commercial publication.
FAQs
Do I need to name a real movie?
No. Camera, blocking, lighting, palette, and production design are more controllable than imitation-by-title.
What lens should I start with?
A 35mm-style field of view is a flexible starting point for environmental cinematic frames; change it when the story needs more intimacy or compression.
Why does the model ignore some details?
Prompts with too many competing instructions lose hierarchy. Keep the story beat, subject, camera, and light more important than decorative adjectives.
Next, compare this approach with Create a Luxury Product Hero Shot, or use the broader framework in How to Write Better AI Image Prompts.