

Create a Luxury Product Hero Shot
Produce a premium campaign visual with accurate materials, reflections, scale, and clean negative space.
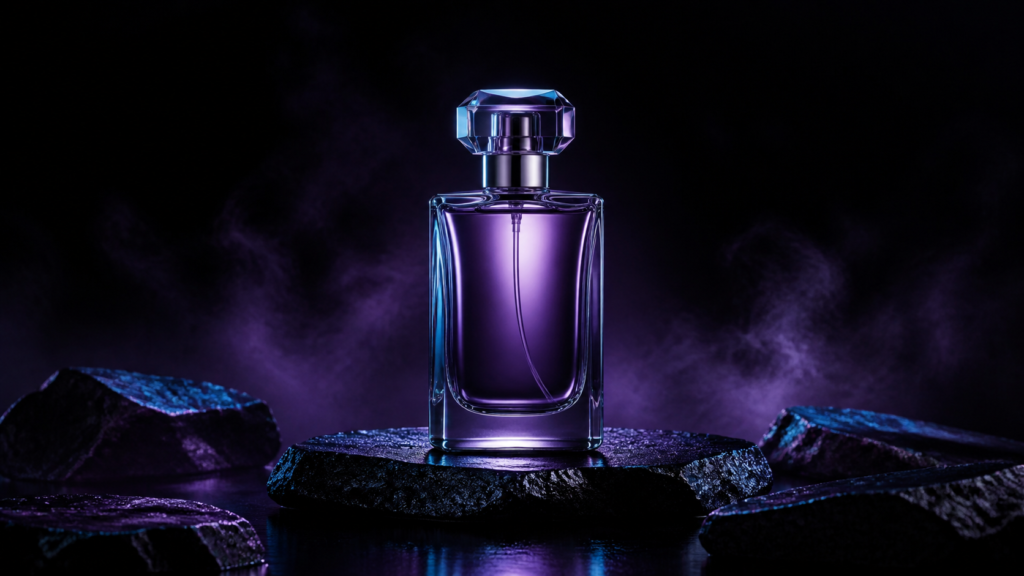
luxury product photography prompt works best when the brief names the visual priority, the production constraints, and the review criteria before generation starts. Use the ready-to-use structure below as a controlled starting point, then make deliberate revisions instead of stacking unrelated style terms.
luxury product photography prompt: how to improve consistency
Keep the first generation focused on composition, subject identity, geometry, and viewpoint. Once those structural choices are working, refine lighting, material response, palette, atmosphere, and surface detail. This order makes failures easier to diagnose and reduces the chance that a visually dramatic variation destroys the parts of the image that already worked.
Adapt the prompt to your image model
The wording on this page is model-agnostic. If your tool supports reference images, seeds, image-to-image strength, style references, masks, or regional editing, use those controls for properties that text alone does not hold reliably. Keep the written prompt responsible for intent and constraints, and use model-specific controls for repeatability.
Review at output size, not only as a thumbnail
Inspect edges, hands, small objects, labels, reflections, perspective, repeated patterns, texture continuity, and unintended text at full resolution. For commercial work, compare the final image with the real product, space, or brief so the image does not imply features that do not exist.
- Confirm that the subject and visual hierarchy match the brief.
- Check that the lighting direction and shadows agree.
- Verify that geometry, anatomy, and repeated details remain coherent.
- Remove accidental text, logos, watermarks, and misleading product details.
- Keep only revisions that improve the intended use, not just novelty.
For a repeatable workflow, save the successful prompt, model settings, reference inputs, aspect ratio, and review notes together. That record makes the next iteration faster and gives collaborators a concrete baseline instead of relying on memory.
A luxury product image depends on material accuracy and controlled light more than decorative complexity. This prompt structure keeps the product geometry central while giving you a premium campaign look with deliberate reflections, negative space, and a restrained environment.
Ready-to-use prompt
Create a premium luxury product hero shot of [PRODUCT] on [SURFACE / PLINTH]. Preserve exact overall geometry, proportions, cap / edge / button placement, material transitions, and realistic scale. Composition: [ORIENTATION], product occupying [PERCENT] of frame, generous clean negative space on [SIDE] for later layout. Camera: [FOCAL LENGTH / LENS FEEL], [ANGLE], straight controlled perspective. Lighting: large soft key from [DIRECTION], narrow rim light from [DIRECTION], subtle fill to retain detail, physically believable reflections and shadow contact. Materials: [GLASS / METAL / CERAMIC / FABRIC] rendered with accurate roughness, refraction, translucency, and microtexture. Environment: [MINIMAL SET], with [ATMOSPHERE] kept secondary to the product. Palette: [COLORS]. Premium editorial finish, clean highlight rolloff, crisp but natural edges. No visible brand marks, text, watermark, deformed packaging, floating product, duplicate parts, fake labels, or impossible reflections.
Input requirements
- Product form and the features that must not move.
- Main material and finish.
- Surface or plinth.
- Camera angle and crop.
- Key-light and rim-light direction.
- Required negative-space area.
How to use it
- Describe the product as an object before describing the mood.
- Lock geometry and materials in the first generation.
- Add one premium environment cue, not a collection of props.
- Reserve negative space if typography will be added later in a design tool.
- Refine reflections and edge quality before adding atmosphere.
Quality check
Zoom in on silhouettes, openings, caps, buttons, seams, glass edges, reflections, shadow contact, and surface texture. A premium result should look physically possible even before color grading.
Common failure fixes
- Melting geometry: shorten the styling section and repeat the non-negotiable shape constraints.
- Plastic-looking metal: specify roughness, controlled highlight width, and realistic reflection sources.
- Fake glass: request believable refraction, thickness, and edge highlights.
- Product gets lost: simplify the set and reduce atmospheric effects.
Responsible use
For commercial work, compare generated visuals with the actual product before publication. Do not use AI to imply features, included accessories, dimensions, or packaging details the real item does not have.
FAQs
Should the product fill the frame?
Not always. Premium layouts often benefit from controlled negative space, especially when copy will be added later.
Can I ask the model to add a logo?
It is usually safer to generate the clean product image first and apply approved brand assets in a layout tool.
What makes a product image look expensive?
Consistent geometry, believable materials, disciplined lighting, clean edges, and restraint matter more than adding ornate props.
For a different visual objective, see Turn a Simple Scene Into a Cinematic Film Still. For the underlying prompt structure, read How to Write Better AI Image Prompts.