

Robot Manipulator Pick-and-Place Calibration Troubleshooting Prompt
Use this prompt to diagnose robot manipulator pick-and-place calibration problems, identify likely causes, and generate a practical step-by-step fix plan.
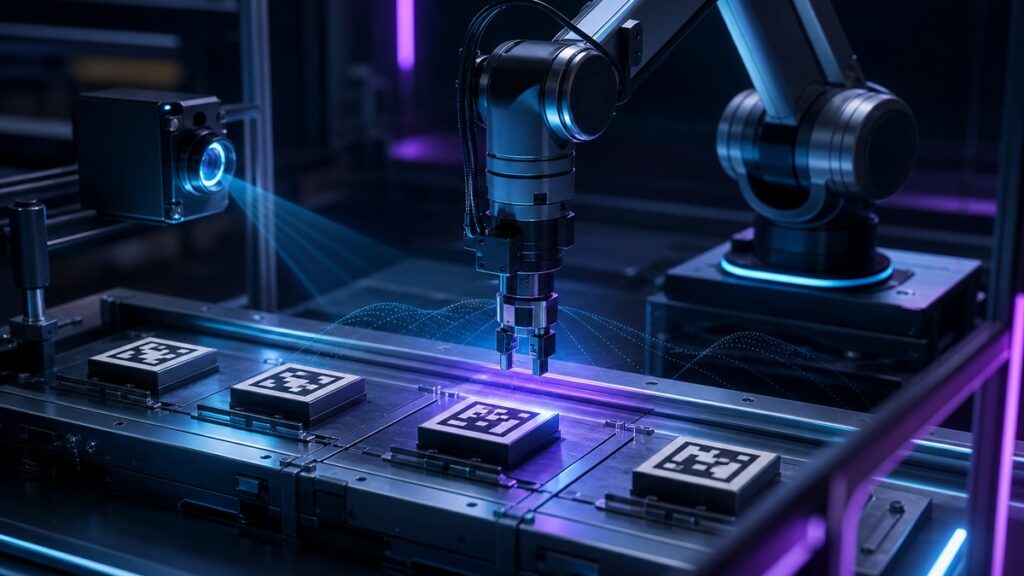
This prompt page helps you troubleshoot robot manipulator pick-and-place issues with a clear, structured diagnostic workflow. It is built for cases where the robot is missing targets, placing parts off-center, or drifting after a teach repeat.
Use it when you need a practical way to analyze symptoms, isolate probable causes and turn scattered calibration notes into a step-by-step repair plan.
Diagnose Pick-and-Place Calibration Problems
Turn robot placement errors, vision offsets and repeatability issues into a structured troubleshooting plan with clear next steps.
COPY THIS PROMPT:
Act as a senior robotics technician, motion systems debugger and calibration troubleshooting assistant.
Help me diagnose a robot manipulator pick-and-place problem by identifying the most likely causes, the best checks to run first and a practical fix sequence.
Focus on calibration, repeatability, coordinate alignment, end-effector setup, vision offsets, payload settings, approach paths and any other likely source of placement error.
What I need from you:
– A short summary of the symptom
– The most likely root causes in priority order
– A step-by-step troubleshooting checklist
– What to measure or verify at each step
– How to tell whether the issue is mechanical, software-related or calibration-related
– A safe fix plan that starts with low-risk checks first
– Any follow-up validation steps after the correction
Important instructions:
– Ask up to 5 clarifying questions only if needed.
– If details are missing, state your assumptions clearly.
– Do not guess blindly; explain why each likely cause matters.
– Separate immediate checks from deeper diagnostic steps.
– Include practical tests such as dry runs, reference-point verification and repeat pick trials.
– Keep the advice specific to industrial robot pick-and-place workflows.
– Avoid unsafe instructions and mention when to stop and involve a qualified technician.
Output format:
1. Problem summary
2. Most likely causes
3. First checks to run
4. Detailed troubleshooting steps
5. Fix plan
6. Validation checklist
7. Prevention tips
Robot details:
[Robot model, controller, end effector, camera or sensor setup, and the observed placement error]
Environment and goal:
[Describe the part, target location, cycle conditions and what a successful placement should look like]
How to use this pick-and-place calibration prompt
What this prompt helps you do
Calibration problems can come from several layers at once: tool offsets, base frames, part presentation, camera alignment, motion settings or even a loose gripper mount. This prompt helps you organize those possibilities into a usable diagnostic path.
- Identify likely causes faster
- Separate mechanical issues from calibration errors
- Focus on safe, low-risk checks first
- Capture the right measurements before adjusting parameters
- Create a repeatable fix-and-test workflow
- Reduce guesswork during robot setup
- Document the final correction for future maintenance
- Improve consistency across repeat pick cycles
💡 Pro Tip
Before changing calibration values, ask the AI to compare what happens during a single slow test pick versus a full-speed cycle. If the error changes with speed, acceleration or payload, the root cause may be motion tuning or load handling rather than the offset data alone.
Example: A real troubleshooting request
My SCARA robot picks small plastic parts from a tray and places them into a fixture. The first few picks are close, but after repeated cycles the place position drifts by a few millimeters. The gripper is pneumatic and the camera is mounted near the cell.
Problem summary: Repeated drift suggests a calibration or repeatability issue rather than a one-off bad point.
Most likely causes: loose tool mounting, inconsistent part pickup height, camera-to-robot offset error, or a payload setting that does not match the gripper and part.
First checks: inspect the gripper connection, confirm the reference point, run a slow dry cycle, and verify the camera detects the same feature every time.
Fix plan: recheck tool center point, confirm frame alignment, retest the vision offset, then run five to ten repeat cycles at reduced speed before returning to production settings.
Why this pick-and-place calibration prompt works
A vague request like “why is my robot off?” usually produces generic guesses. This prompt narrows the task to the full pick-and-place chain, so the AI can reason through tool offsets, frames, motion behavior and sensor alignment in a more useful order.
It also asks for a validation plan, which matters because a correction is not complete until the robot has repeated the motion several times and the result stays stable. That is especially important when the error only appears under certain speeds, loads or part positions.
In practice, pick-and-place calibration problems often need both diagnosis and discipline: check one variable at a time, confirm the effect, then lock the improvement in with documentation.
Frequently Asked Questions
Can I use this with any robot brand?
Yes. The prompt is generic enough for most industrial robot systems, as long as you provide the controller, end effector and sensor details.
What if I do not know whether the issue is mechanical or software-related?
Ask the AI to help you separate those possibilities using symptoms, repeatability and simple inspection steps before changing code or offsets.
Should I include every parameter in the prompt?
No. Include the parameters that matter most: tool data, base frame, camera setup, speed, payload and the exact placement error you see.
Can this prompt help with vision-guided picking?
Yes. It works well for cases where image-to-robot alignment, target detection or camera calibration may be contributing to the error.
What should I do if the AI suggests a risky change?
Pause and verify the recommendation against your robot’s safety procedures and site rules before making any change.
When to use this prompt
Use this prompt when your robot places parts slightly off target, the error changes after several cycles, or the cell behaves differently after a tool change or camera adjustment.
It is also useful during startup, after maintenance, after changing the gripper, after moving the camera or whenever a new part requires more precise placement than before.
If you are documenting a production issue, the prompt can also help you create a cleaner troubleshooting note for engineers, technicians or integrators who need to review the problem later.
Best practices for better results
Start with the actual symptom, not a theory. “Drifts by 3 mm after five cycles” is more useful than “calibration seems wrong,” because the AI can work from a concrete failure pattern.
Include whether the issue appears at slow speed, full speed or only with certain parts. That detail often helps distinguish repeatability problems from offset errors or motion tuning issues.
Keep changes controlled. If the AI suggests multiple corrections, apply one at a time and test again so you can tell which adjustment actually solved the issue.
Finally, save the corrected settings and the reason for each change. Good notes make future calibration troubleshooting faster and less disruptive.
Summary
This pick-and-place calibration prompt helps you turn robot placement errors into a structured troubleshooting plan with likely causes, safe checks and a practical fix sequence.
Use it when you need to diagnose drift, offset errors or repeatability problems, then validate the correction with repeated tests so your pick-and-place calibration stays stable in real operation.
Looking for more practical AI prompts?
Explore AI Craft Pad for more useful prompts, tools and guides.
Browse Prompts →