

Smart Monitor Riser
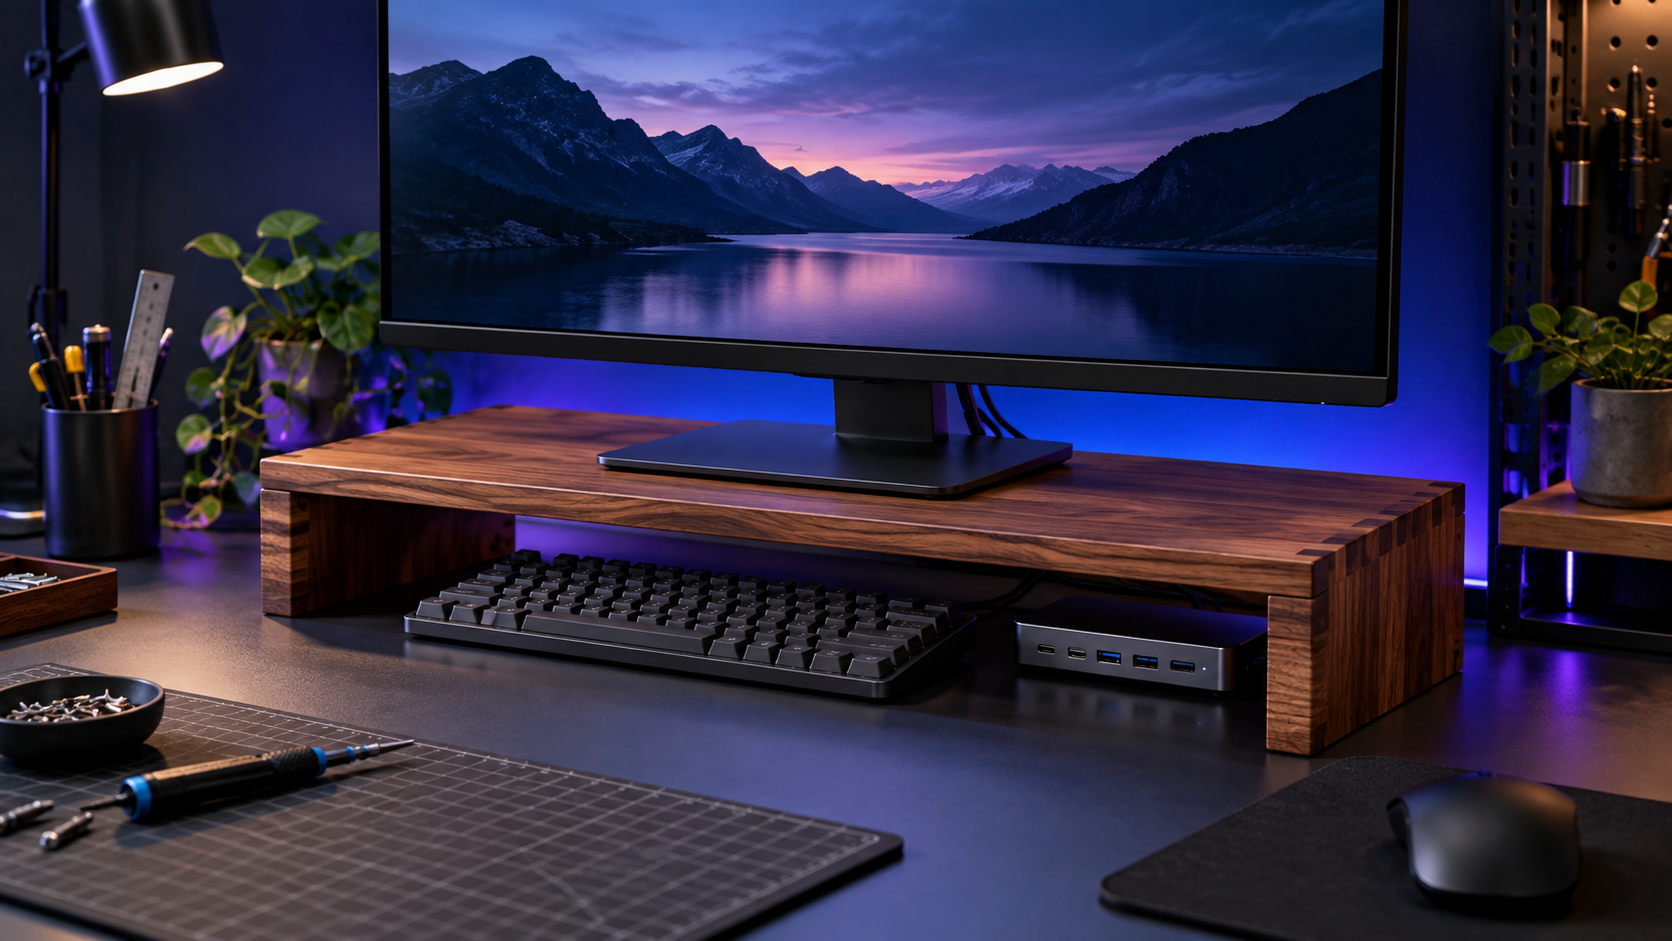
A sturdy, serviceable monitor shelf with a removable, certified USB-C hub and tidy cable routing. No mains wiring or mystery charging boards inside the furniture.
Concept diagram · verify components before building
Purpose and use cases
Raise a monitor and reclaim desk space while keeping a replaceable USB hub within reach.
- Lift a display to a comfortable viewing height after measuring your own setup
- Keep keyboard, SSD and short USB leads organized
- Replace the hub without rebuilding the wooden shelf
Bill of materials / components
- 18 mm plywood: one 600 × 240 mm top, two 220 × 92 mm side supports, one 564 × 70 mm rear stretcher
- Wood glue and eight 4 × 35 mm countersunk wood screws
- Four non-slip rubber feet and cable clips
- Externally certified, separately powered USB-C hub suited to your host and peripherals
- Optional water-based finish; sandpaper and drill bits
Architecture / wiring
Monitor → 18 mm plywood top → side supports + rear stretcher → rubber feet → desk. Laptop → manufacturer-certified USB-C hub → peripherals; hub stays removable and its PSU stays outside the shelf.
A printable architecture diagram and exact BOM are included in the ZIP.
Step-by-step build
- Measure the monitor base and total load. Adjust the 600 × 240 mm top before cutting; the base must sit wholly inside the top with margin.
- Cut the four wood pieces from the cut list. Dry fit on a flat surface and check the side pieces are the same height.
- Predrill and countersink pilot holes; glue and screw the side supports under the top, then fit the rear stretcher between them.
- Let the glue cure to its manufacturer instructions. Sand edges, apply a finish if wanted, and fit rubber feet.
- Place the monitor centrally. Start with a low-value static load and inspect for rocking, joint movement or visible bowing before using the display.
- Mount the certified USB hub with removable hook-and-loop tape or clips. Route cables so no connector bears the monitor load and the power adapter has ventilation.
Code, firmware and downloadable files
README.md, cut_plan.py, generated cut-plan.svg and BOM.csv
python cut_plan.py --width 600 --depth 240 --height 110 --thickness 18 --output cut-plan.svg
Setup and configuration
Run python cut_plan.py –width 600 –depth 240 –height 110 –thickness 18 –output cut-plan.svg to generate a dimensioned drawing. The defaults describe a sample footprint, not a certified load rating. Keep the hub's own PSU and safety markings intact.
Safety and validation
Unverified hardware build. Wood strength depends on material grade, joint quality and monitor load. Do not use the shelf for a heavy display until your assembly is independently load checked. Never integrate mains wiring, battery packs or exposed USB power boards into the timber cavity.
Software checks are documented in the README. A physical assembly and end-to-end hardware run have not been verified by AI Craft Pad.
FAQ
Will this hold my monitor?
The template has no universal load rating. Measure the base and weight, build with sound materials, and inspect/load check your actual shelf.
Can I embed a charger?
Use an externally certified, ventilated product. Keep mains adapters and batteries outside the shelf.
Can the width change?
Yes. Regenerate the cut plan and keep the rear stretcher length equal to top width minus twice the material thickness.
Official references
Next step and possible Pro edition
A possible Pro kit could add parametric CAD, cable-tray variants and a documented physical load-test matrix. None is included here.