

How to Prompt Stained-Glass Lighting in AI Art
Follow clear steps for stained-glass lighting, from scene structure and lighting to final image checks.
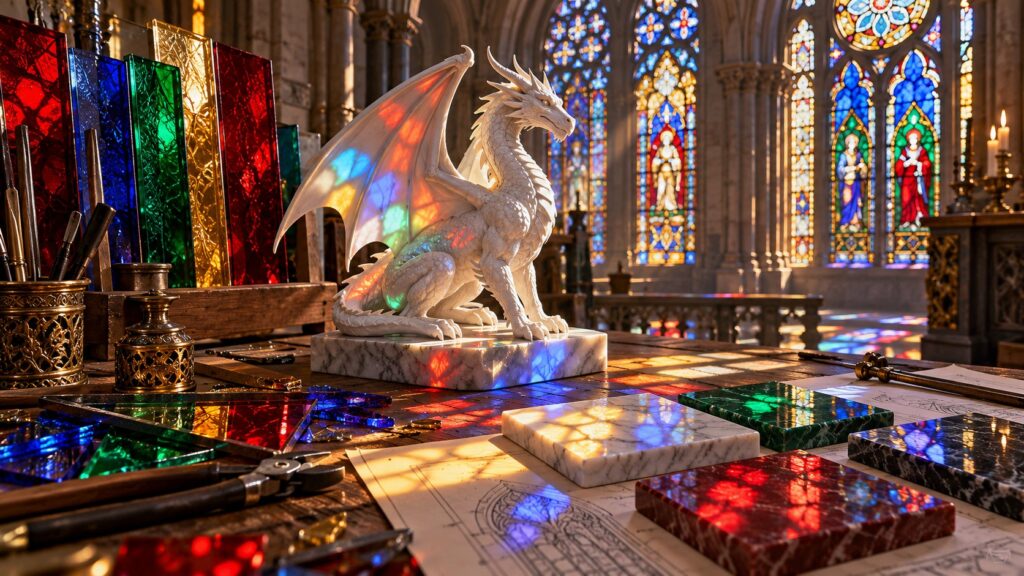
Quick answer: To make a stained-glass lighting, lock the subject, camera, scale and two light sources before requesting ornamental detail. Work from a simple draft toward a polished image and compare each version at the size where people will see it.
What you need
- An image generator that supports descriptive prompts.
- A one-sentence scene idea and an intended aspect ratio.
- A place to save the prompt and candidate images for comparison.
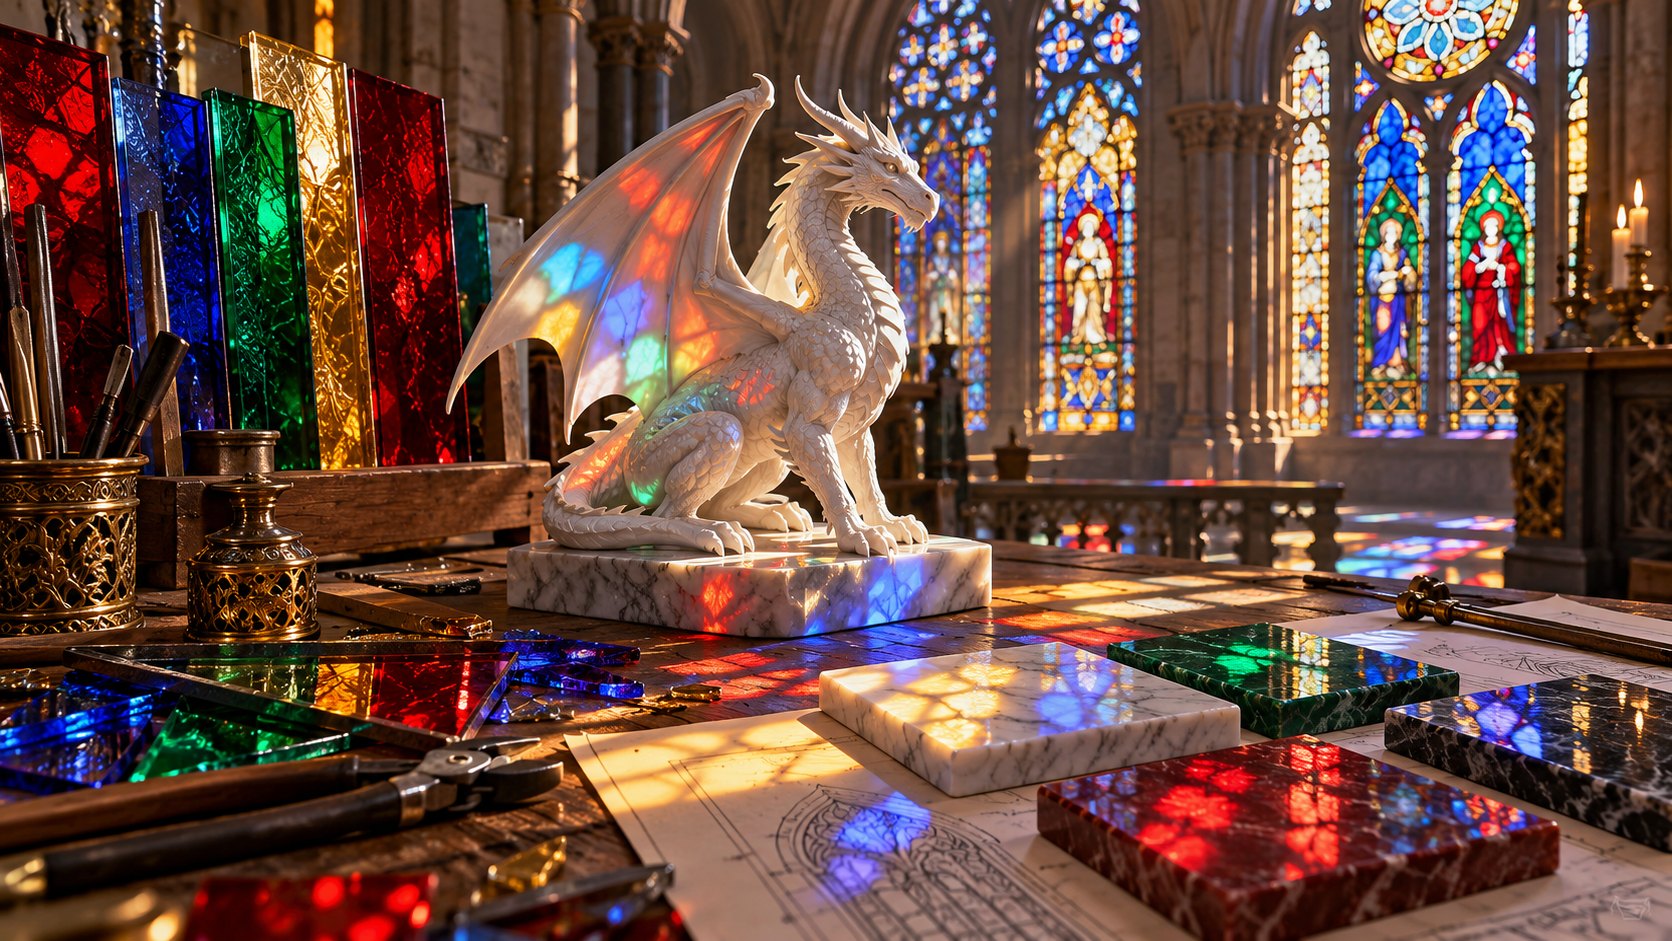
This guide uses the original scene above as an example. You can change the subject, but keep the sequence: structure first, decoration second, verification last. The steps are model-agnostic because interface labels and options differ across products.
1. Place the windows before specifying the subject pose
Write this choice at the top of the brief. If the image introduces a second main idea, remove it before polishing surface details.
2. Choose three glass colors and decide which one dominates
Treat the camera and frame as fixed for the first comparison. A stable frame makes scale errors easier to identify.
3. State the sun direction and the floor material
The supporting objects should explain the world, not steal attention. Inspect their relative size at thumbnail scale.
4. Keep the dragon distinct from the most saturated light patch
Light should reveal form and guide the eye. If every area glows equally, reduce one source instead of adding another.
5. Generate a control version in neutral daylight for comparison
Save each candidate with the instruction that produced it. Compare composition before judging small decorative details.
6. Reject results where colored shadows do not connect to windows
Mark the specific flaw you would fix next. A controlled revision is easier to evaluate than a complete rewrite.
A starter instruction to adapt
Create a landscape 16:9 illustration of a small emerald dragon sleeping among flowering vines in an ornate stained-glass conservatory with marble floor and ironwork. Compose it as a low indoor camera angle with the dragon clear in the central third and patterned light around it. Use sunbeams through ruby, amber and sapphire glass forming colored patches across the floor. Preserve believable perspective and scale. Add translucent glass pieces, leaf veins, subtle scales and cast-shadow direction. Avoid a giant aggressive dragon, illegible stained-glass lettering, rainbow fog or glass patterns painted onto the dragon. No words, logos or watermark.
Final quality check
- The central idea reads at a glance.
- Near, middle and far elements have distinct scale.
- All shadows and reflections follow the intended light.
- Edges stay useful after cropping to a card or mobile view.
- You saved the exact prompt used for the chosen result.
If the first result misses the idea
For stained-glass lighting, diagnose the failure before adding more adjectives. If scale is wrong, specify a reference object. If the main subject is hidden, change the camera or simplify the background. If the light feels artificial, remove a competing glow. If the image contains distorted lettering, request no lettering and add typography later. The original scene depends on translucent glass pieces, leaf veins, subtle scales and cast-shadow direction; prioritize those details only after the overall composition works.
Colored light should behave like light, not a decorative overlay. It must originate at the windows, align with the sun and fall on surfaces consistently.
If the image fails one of these checks, revise only the failing constraint. Rewriting the entire prompt makes it harder to learn which change helped. Save the strongest candidate and record the final settings beside it.
Use the ready-to-copy prompt for a quicker start, read the companion article for the design reasoning, or explore more AI Craft Pad guides.
Final review for stained-glass lighting
Review stained-glass lighting at full size and as a small card. Trace each colored beam to its window and keep the dragon silhouette readable against the foliage. Compare the first result with a second version that changes only one camera or lighting choice.
Keep the strongest stained-glass lighting version, then check perspective, material detail and the crop on a phone. For real-world visual reference, browse the Wikimedia Commons image library and verify the license of any image you reuse.