

How to Cut Long Talking-Head Videos Into Tight Short Clips Without Losing the Point
Learn a practical workflow for turning long talking-head videos into short, sharp clips that keep the original message clear and complete.
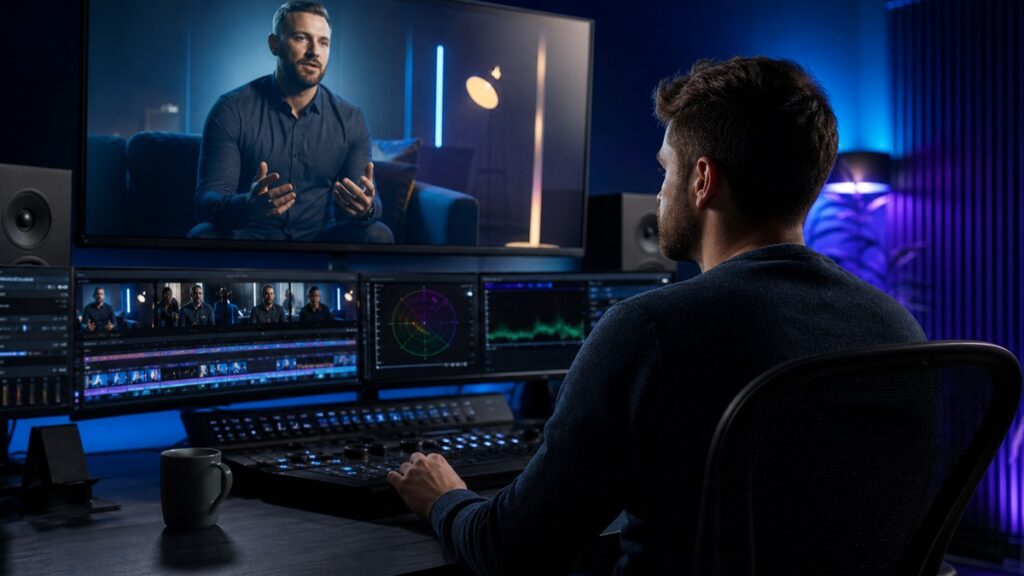
If you need to cut long talking-head videos into short clips, the goal is not just to make them shorter. The real job is to preserve the idea, the tone, and the moment that makes the clip worth watching. A good short clip should feel complete on its own, even if it came from a much longer recording.
The safest way to do that is to edit for meaning first and length second. Start by identifying the point of the segment, then remove only the words, pauses, and side roads that do not help the viewer understand it. If you trim too aggressively, the clip becomes punchy but vague. If you trim too softly, it stays too long and loses attention. This article shows a practical workflow for finding the right balance.
What makes a talking-head clip work
A strong short clip usually does three things: it starts quickly, makes one clear point, and ends before it drifts. That sounds simple, but in long-form footage the useful part is often buried inside a few minutes of setup, examples, and repeated phrasing.
Before you touch the timeline, ask one question: What should a viewer understand after this clip ends? If you cannot answer in one sentence, the segment is probably not ready to become a short clip yet.
Signs the clip still has too much fat
- The speaker repeats the same idea in three different ways.
- The beginning includes throat-clearing, filler language, or a long lead-in.
- The point is buried after a tangent or a story that never pays off.
- The ending keeps going after the main takeaway is already clear.
Start with the message, not the timeline
Many editors begin by shaving seconds off the front and back. That can help, but it does not solve the bigger problem. A short clip should have a specific purpose: explain one idea, make one argument, or deliver one useful statement.
Watch the source footage once without editing and jot down:
- the main point in plain language,
- the exact moment it becomes clear,
- the strongest supporting sentence, and
- the last sentence that is still needed to finish the thought.
That outline becomes your first rough cut. If the clip cannot be summarized cleanly, the viewer will probably feel the same confusion.
A simple workflow for tightening the clip
The following process works well for interviews, coaching videos, tutorials, and direct-to-camera commentary. It focuses on preserving meaning while removing dead weight.
-
Find the core sentence.
Locate the one line that contains the actual value. Often it is the most direct sentence in the section, not the most polished one. Mark it first.
-
Trim the setup.
Cut introductions that do not add information. If the speaker says, “That’s a great question,” or wanders through context before arriving at the point, keep only the part that helps the viewer enter the idea faster.
-
Remove repeated wording.
Talking-head footage often contains a point, a restatement, and a cleaner restatement. Keep the clearest version and drop the rest unless they add nuance.
-
Shorten pauses and resets.
Long breaths, sentence restarts, and “let me think” moments are useful in real conversation, but they usually slow down a short clip. Remove them unless they make the speaker feel more authentic in a way that matters.
-
Preserve the logical bridge.
Do not cut so much that the clip jumps from premise to conclusion with no connection. The viewer should be able to follow the argument without guessing what got removed.
-
End on the payoff.
Stop where the point is complete. If the speaker continues with examples, asides, or a second topic, that material can live in another clip.
How to keep the clip understandable after heavy trimming
When you cut a long segment down, the biggest risk is that the viewer loses the thread. That usually happens when the clip depends on information that is no longer on screen or in the audio.
Use only the context the clip truly needs
If the speaker says “that approach” or “this problem,” make sure the clip still includes enough surrounding language to show what those words refer to. If not, move the clip boundary outward or choose a different section.
Keep one complete thought per clip
Short clips work best when they do one job. If you are trying to preserve two ideas, the edit usually becomes either too long or too compressed. In that case, split the segment into two separate clips with their own openings and endings.
Watch for pronoun traps
Words like “it,” “that,” “they,” and “this” can break a clip if the setup is removed. A phrase that sounded natural in a long conversation may become confusing once isolated. If necessary, keep the preceding sentence or cut to a new clip that begins with a fuller statement.
A practical example
Imagine a 12-minute talking-head video about improving presentation skills. In the middle, the speaker spends 90 seconds describing a common mistake: trying to sound impressive instead of being clear. The useful clip is probably not the whole 90 seconds.
A tighter version might look like this:
“People think a good presentation is about sounding smart. It is really about making one idea easy to follow.”
That quote works because it contains a full idea, a contrast, and a takeaway. What gets removed?
- the warm-up about how common the mistake is,
- two examples that restate the same lesson, and
- the trailing sentence that moves on to a different topic.
The result is shorter, but it still says something specific. If you cut out the contrast between “sounding smart” and “being clear,” the line becomes flatter and less memorable.
Editing choices that make a short clip feel intentional
Even when the wording is strong, the clip can feel messy if the rhythm is weak. These choices help the edit feel deliberate instead of chopped up.
Use clean jump cuts
It is normal for talking-head edits to have jump cuts. The key is to avoid accidental visual jolts when possible. If a cut lands in the middle of a strong gesture or face movement, it may feel distracting. Move the cut a few frames earlier or later if that makes the transition smoother.
Cut on emphasis, not on silence alone
A pause is not always the best cut point. Sometimes the clearest edit lands right after a completed phrase or at a natural verbal beat. Use silence as a guide, not a rule.
Keep the speaker’s tone intact
If the original clip is warm, thoughtful, or lightly humorous, do not strip out so much that the personality disappears. The point is to tighten the delivery, not to turn every clip into a robotic summary.
Verification checks before you publish
Before treating the clip as finished, run a quick quality check. These steps catch the mistakes that usually show up after the timeline looks clean.
- Listen once without looking at the waveform. Ask whether the point makes sense in real time.
- Check the first three seconds. The opening should tell the viewer why the clip exists.
- Read the clip as text. If the sentences do not flow on the page, the edit may be too aggressive.
- Look for missing references. Any unclear pronouns, abrupt topic jumps, or unexplained mentions need attention.
- Make sure the ending resolves the thought. A clip that stops mid-idea feels accidental, even when it is short.
If you are unsure, compare the shortened version with the original and ask a simple question: Did I remove clutter, or did I remove meaning? If meaning suffered, widen the clip slightly.
Common mistakes to avoid
- Starting with a random sentence. A short clip still needs an opening that orients the viewer.
- Cutting every pause. Some pauses are part of the speaker’s thought process and can help the line land.
- Keeping too much context. If the clip needs a long explanation before the point arrives, it is not tight enough.
- Over-editing for speed. Fast does not automatically mean clear.
- Forgetting the last sentence. Many clips end too early and leave the takeaway unfinished.
A useful rule: if the clip sounds like a summary instead of a real statement, it may have been cut too hard. If it sounds like the middle of a larger conversation, it may still need more trimming or a different boundary.
FAQ
How short should a talking-head clip be?
Short enough to keep one idea clear and complete. The right length depends on the point, but clarity should decide the runtime, not the other way around.
Should I remove every filler word?
No. Remove filler when it slows the clip or creates repetition. Leave small natural pauses if they help the speaker sound human and the message still flows.
What if the strongest line depends on the setup?
Either keep enough setup for the line to make sense or choose a different section. A clip that needs outside context usually is not finished yet.
Is it better to make one long clip or several short ones?
If the source material contains more than one complete idea, several short clips are usually better. Each one should stand on its own.
Conclusion
To cut long talking-head videos into short clips without losing the point, edit around the message. Find the core idea, remove repetition and setup that do not help, and keep just enough context for the viewer to follow the thought. The best short clips do not feel compressed; they feel distilled.
Continue exploring AI Craft Pad
Use the practical libraries below to turn the ideas in this article into repeatable work.